The post-embedding process included the following steps: entering the embedder data for each specimen into the UCMP online database, trimming the excess resin from the specimens, and lastly, polishing the trimmed specimens for imaging and future study.
Recording embedder data
Just before embedding, the embedder wrote their initials, the date, and type of resin used on the post-it located in each embedding tray. After the specimens were fully cured, the embedder information was transcribed to their respective specimen post-it tags for subsequent entering into the UCMP online database.
View the video below for more details about this step
Trimming excess resin
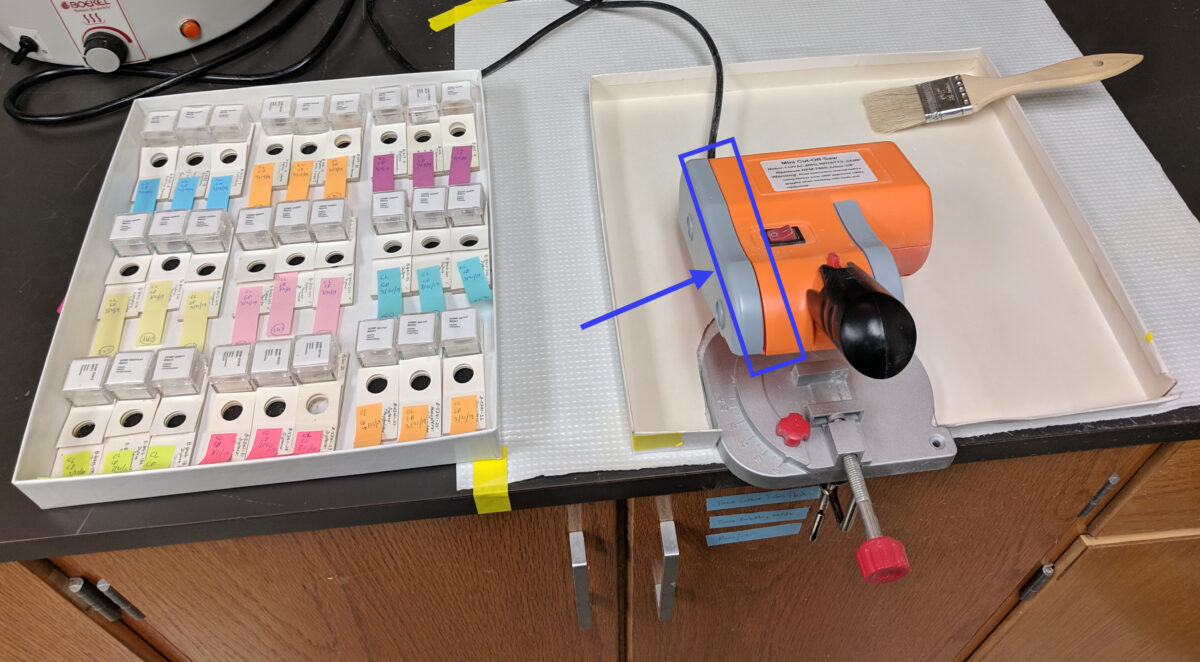
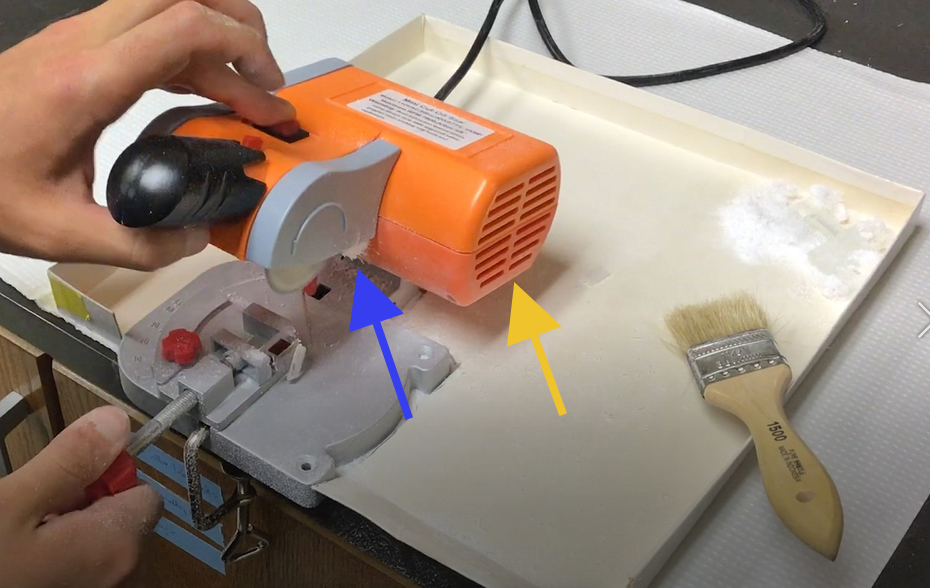
We used a mini benchtop cut-off chop saw with a two-inch blade designed to cut plastic, wood, and metal to trim the excess cured casting resin surrounding the specimens. This cheap, little hobby saw was ideal for our project. The small resin blocks fit perfectly into the chuck and we could adjust the cutting angle so that the cut sides of the resin block were always parallel with the sides of the embedded amber piece. We found cutting too many specimens within a short amount of time caused the blade to heat up, in turn causing it to seize up midway through the cut, so one needs to be sure the blade is cool to the touch between cutting each specimen. Also make sure you clean the ground-up plastic residue/dust from the blade and blade guard area (blue arrow in second image below) after each cut to avoid buildup that can potentially cause the motor to seize up and stop working. Periodically dust out the motor casing with blasts of air into the side vent (yellow arrow in second image below) using a camera duster or equivalent. It helps to hold the saw with the vent facing down so you are blowing up into the vent opening allowing dust to fall out of it. We eventually put tape around the motor access door (area marked by the blue arrow and rectangle in image below) to seal it off from the plastic residue/dust to keep it from getting inside the motor casing.
View the video below to see how we trimmed our embedded specimens
Polishing
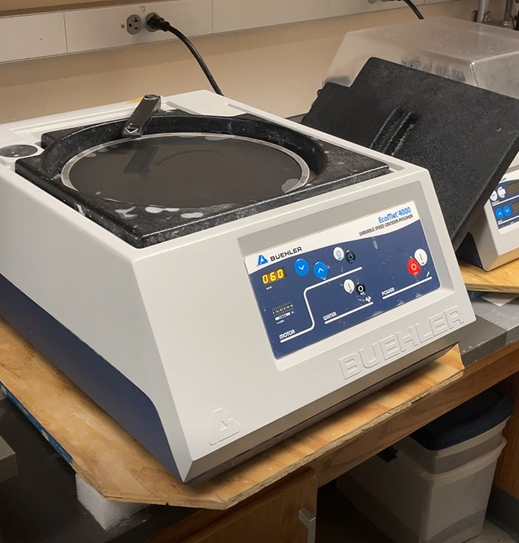
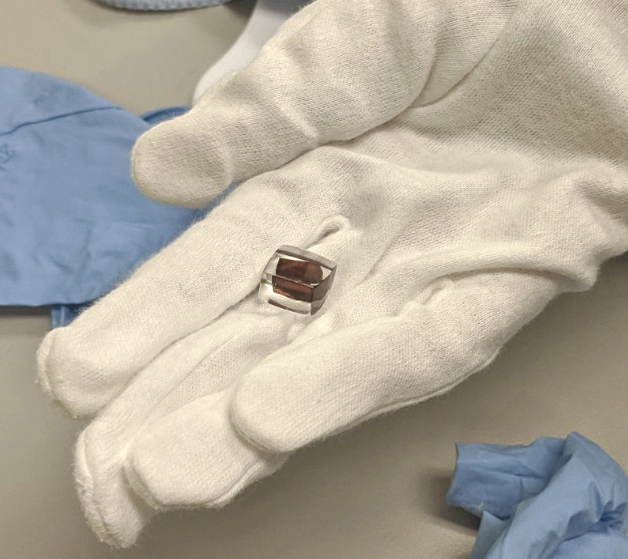
The polishing was done in three stages. First, we used an electric benchtop Buehler EcoMet 4000 grinder with an 180 grit sandpaper pad wet at a speed of 60 RPMs. This stage was to quickly remove the excess resin around the amber piece, while leaving a thinner protective layer, which once polished would be best for light penetration for imaging the inclusions and viewing them with a microscope. Also, to further facilitate their imaging and study, we wanted to make sure the surfaces of the resin blocks were parallel with the surfaces of the embedded amber pieces. This stage was followed by hand polishing using the following coarse to fine-grained series of sandpapers (wet): grit sizes 320 (coarsest), 600, 1200, 5000, 7000, and 10000 (finest). Lastly, the specimens were buffed on a soft microfiber cloth using Flitz compound, an inexpensive non-toxic polishing compound.
View the videos below to see our polishing workflow from start to finish