The thought of embedding, trimming and polishing 1,500 tiny amber pieces in casting resin was initially very daunting. Could we do it? Thanks to some ingenuity on the part of myself and our UCB Team Resin students we managed to develop a pretty elegant workflow for the project. Explained below are the steps we needed to do prior to embedding the amber specimens in casting resin.
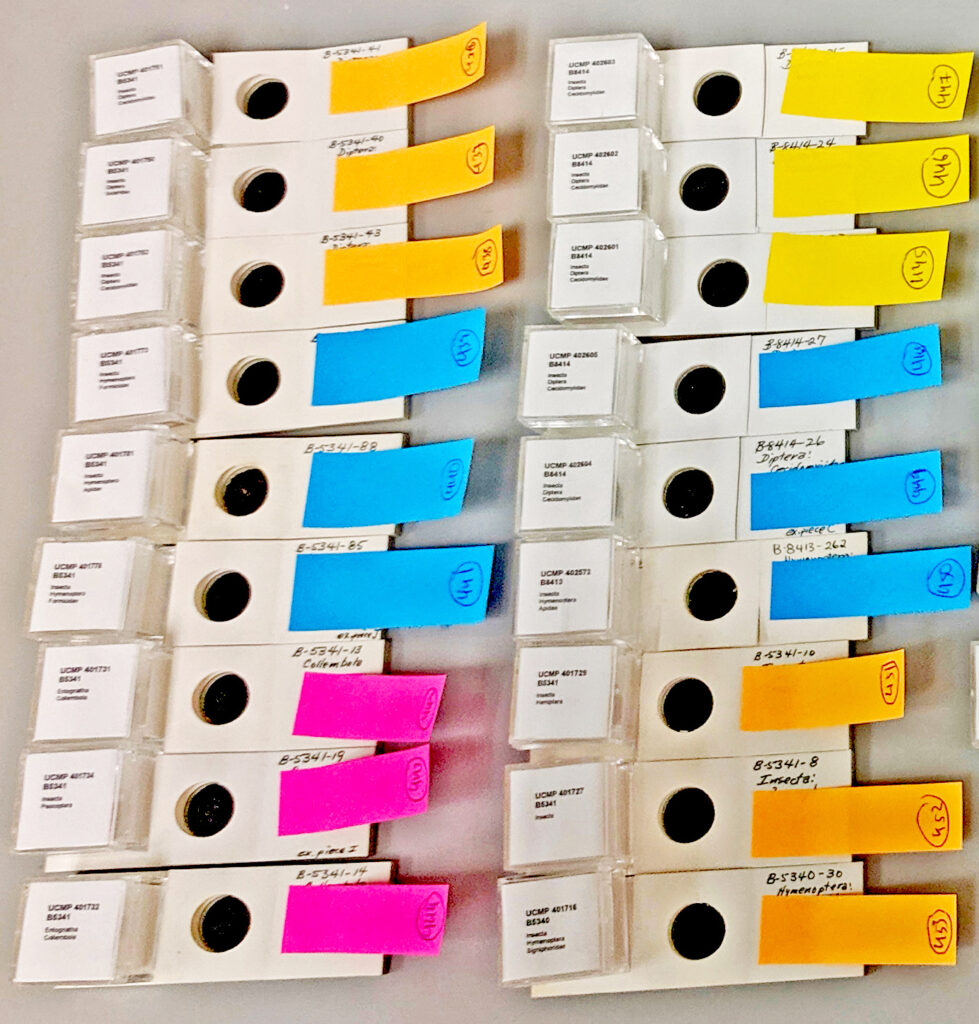
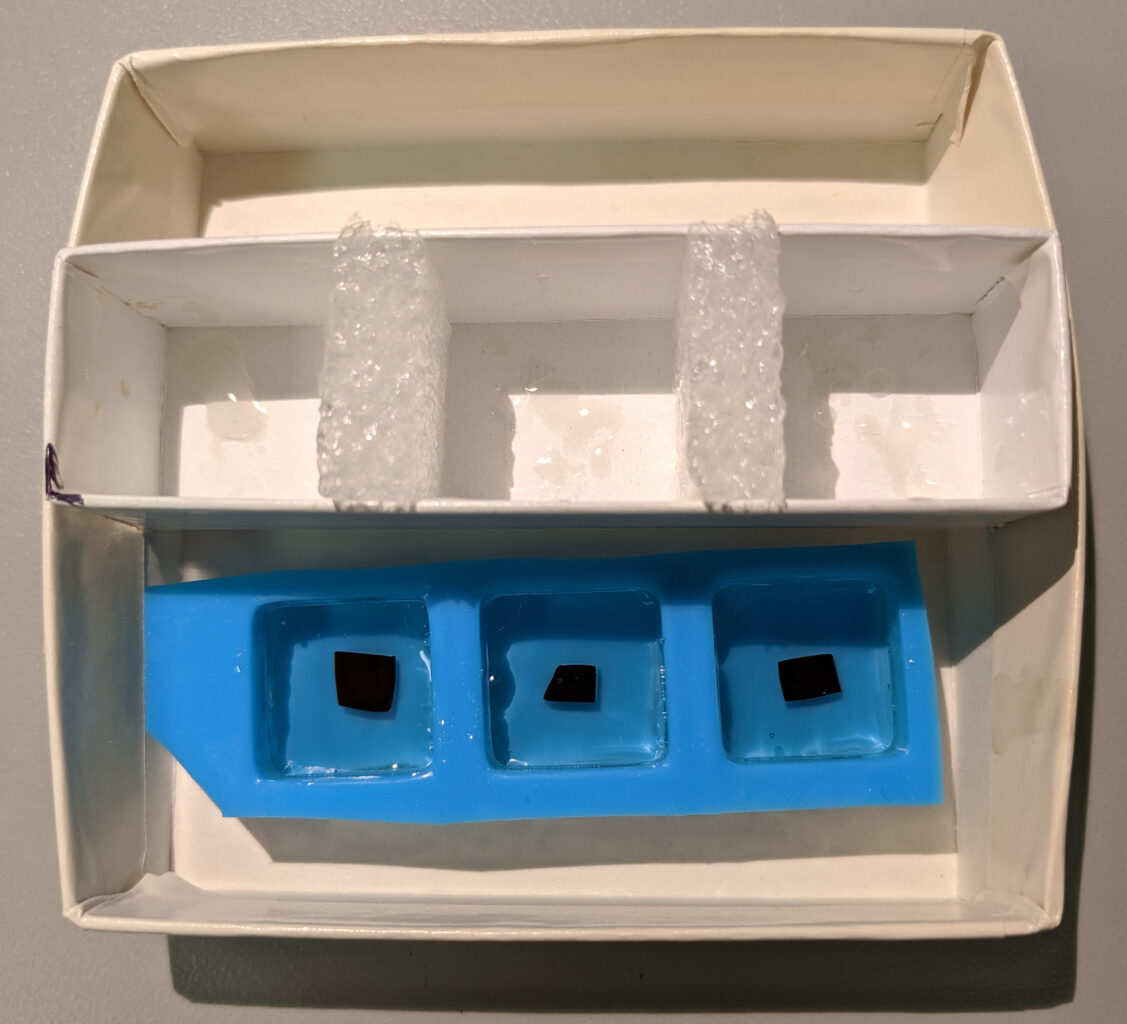
(1) Before embedding our 1,500 amber pieces we needed a way to track each specimen so that when they were physically separated from their gem boxes and slides during the resin embedding phase, we would not lose track of each amber piece’s UCMP specimen number. We worked with sets of three specimens at time, as this number was ideally suited for the design we came up with for our embedding trays, and the small silicon molds we used during the process (below). Each specimen of a set was numbered sequentially from left to right. We started with 1, 2, 3 for the first set; 4, 5, 6 for the second, and so on. We used the same-colored post-it notes within each set, and these were affixed to each slide or gem box (below). We alternated the colors of the post-its between each set of three to make sure consecutive sets of three had different colors to further eliminate the potential mixing up of specimens. On another post-it note, the same color as the set of three, the three number series was written on it and placed in the embedding tray for that series of specimens.
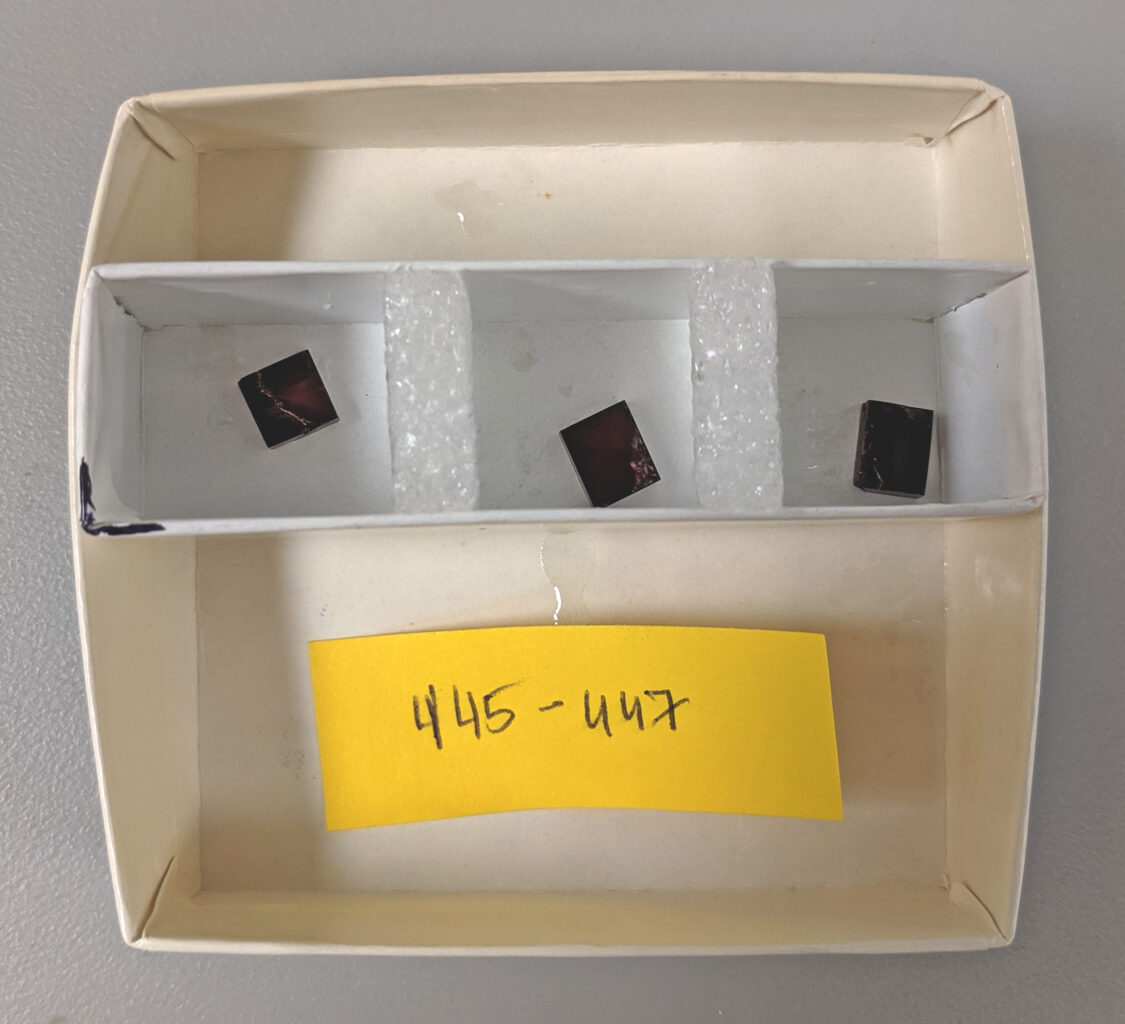
(2) The embedding trays were constructed using a 1″ x 3″ cardboard unit tray nested within a larger square 3″ x 3″ tray, the smaller tray positioned in the upper part of the larger tray to leave space for the placement of the silicone mold. In this position the lower left corner was marked using a black magic marker. Likewise, the lower left corner of each silicone mold was notched so that we would always know its proper orientation relative to the smaller tray, hence the right specimen order, even if the two were to become separated.
View video above for more details about how we made our embedding trays
View video above for details about our system to track the amber specimens
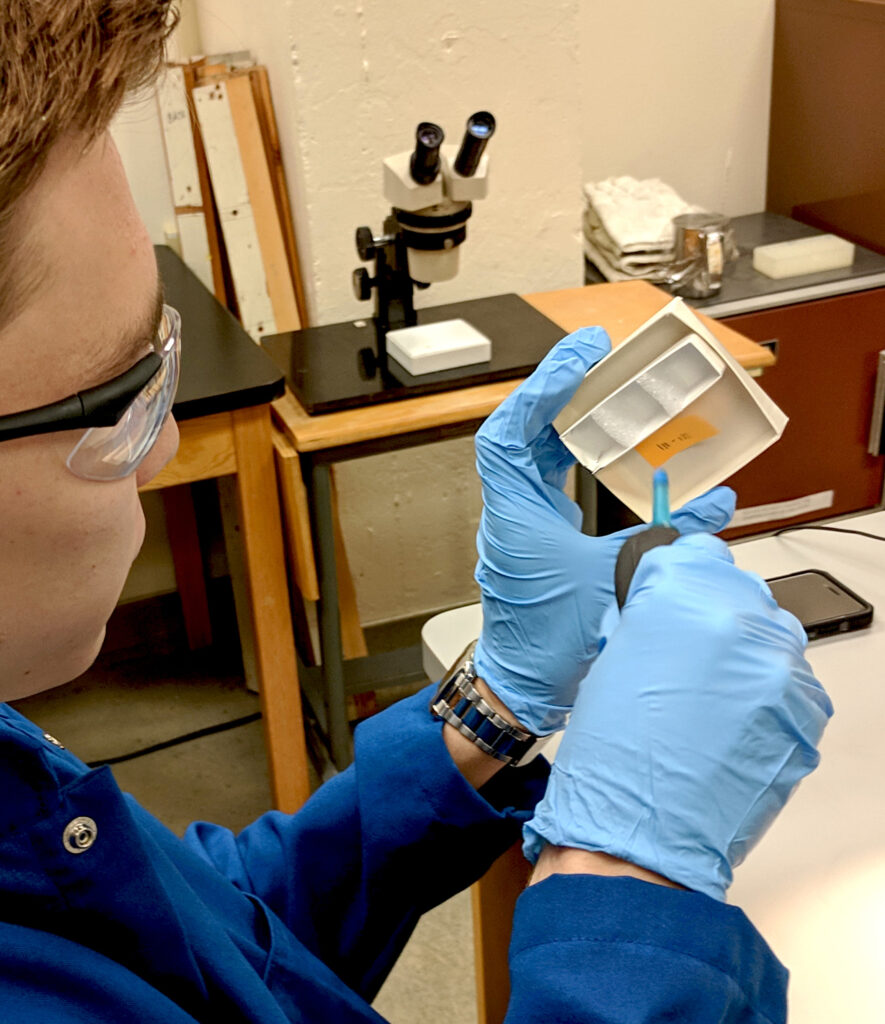
(3) Inspection of the amber pieces revealed that the surfaces of many were covered with dust despite being stored in cardboard slide holders protected by a plastic coverslip. However, because of the fragile nature of the amber pieces, it was not possible to clean them simply by re-polishing them. Instead we used a combination of magnifying glasses, lens paper, camera duster and a duster made from a rubber bulb and pipette. We do not recommend using canned dust-off products as it is very difficult to regulate the amount of air flow and these products contain liquid residue that can be sprayed onto the specimens.
View the video below for more details about our dust removal techniques
Note it is also important to remove any dust from the embedding trays prior to placing amber pieces in them. We did this using a camera duster, or our bulb and pipette duster, and inverting the tray like one would do to clean a camera lens.