Asma Ahmed’s URAP experience: Assessing the UCMP Amber Type specimen collection!
I have been working the last two semesters in the UC Berkeley Museum of Paleontology on assessing the condition of the Type amber collection as part of my project for the Undergraduate Research Apprentice Program. This collection was amassed and actively published on during the 1950s to early 1970s by UC Berkeley faculty, their students and colleagues from around the world.
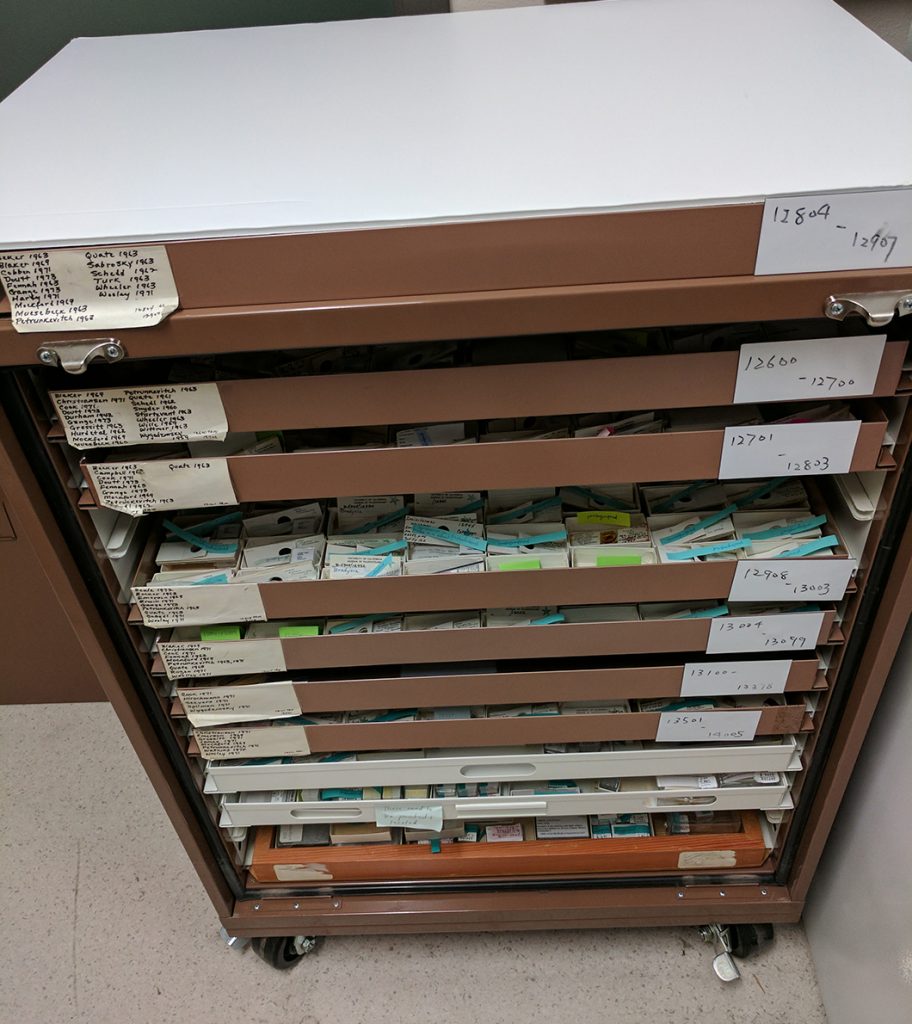
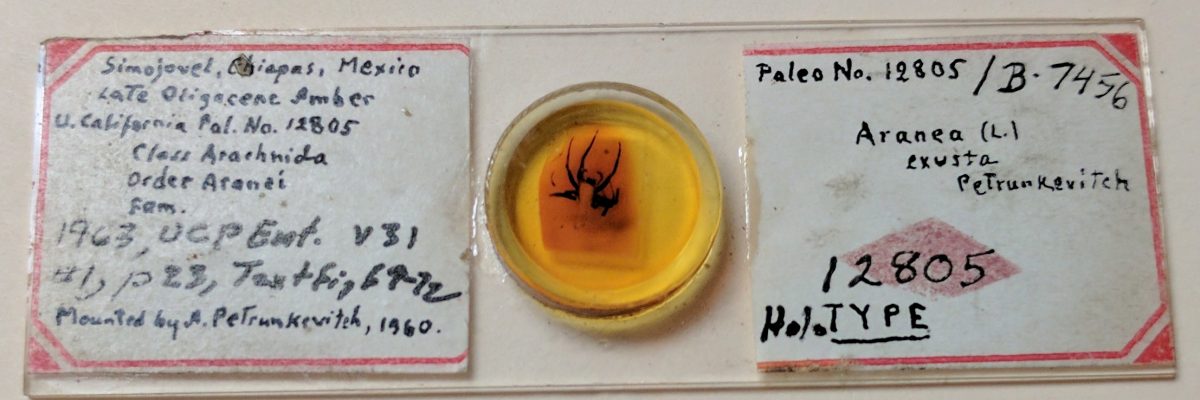
Together with PI Dr. Diane Erwin, I devised a system for characterizing the condition of this collection. The substandard storage of the amber specimens did not fully come to light until the digitization work started. As we discovered, the amber specimens were stored in 1 X 3 inch cardboard slide mounts sealed with a thin plastic cover slip.

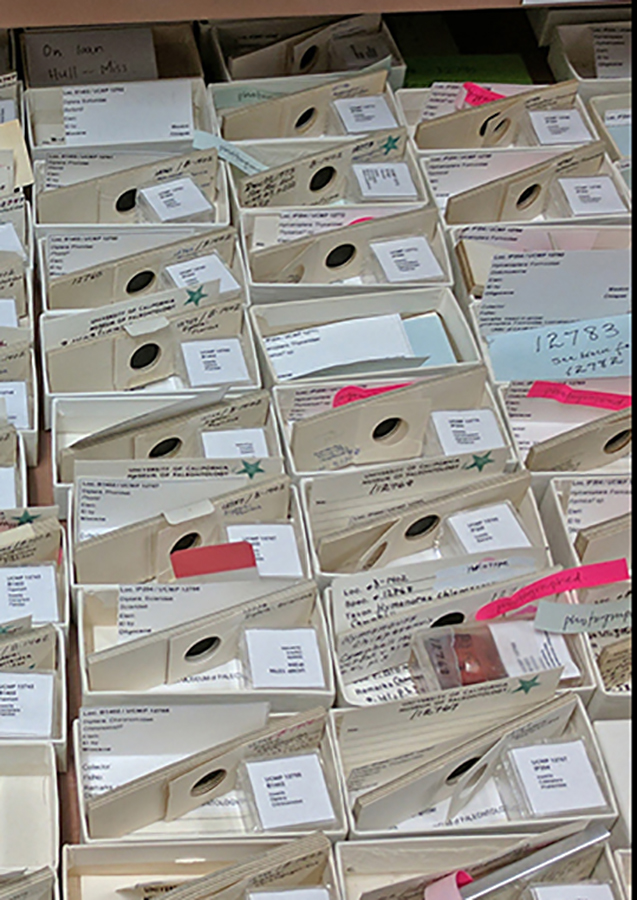
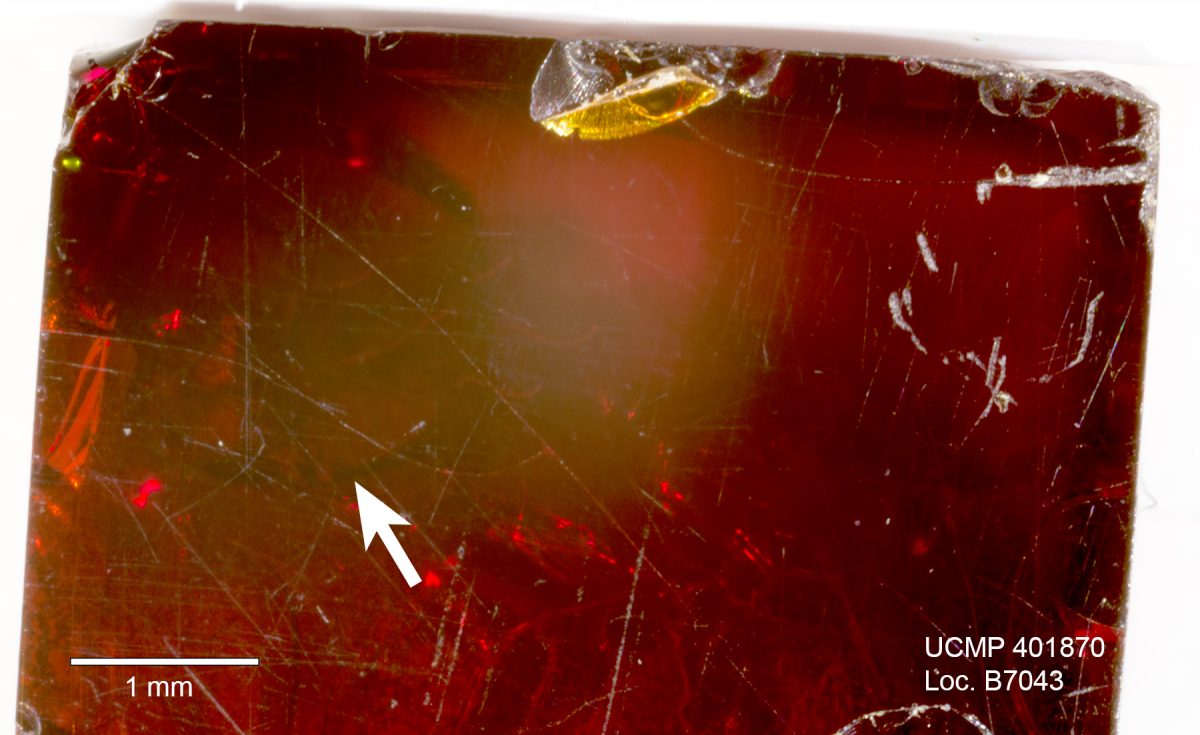
Back in the day, the cardboard slides were thought to be an adequate storage method. However, in many cases the cardboard has yellowed, indicating they are not acid free, and the cover slips were placed (forced in many cases) over specimens that were taller than the slide well. I noticed that a lot of the amber damage was centered on the fracturing that resulted from being constrained in the slides from the cover slips pressing down on the amber itself. Since the amber is very fragile, any pressure can result in multiple fractures, and the closer those fractures were to the inclusions, the less likely one can actually see the insect clearly.
Furthermore, amber pieces showed scratches on their surfaces that, in part, were likely caused by the drag of the cover slip over the specimen (and the specimen against the well bottom) when the cover slips were pulled out. Some specimens were placed in double-thick cardboard slides and these fared better because the cover slips were less likely to be pushing down on the amber.
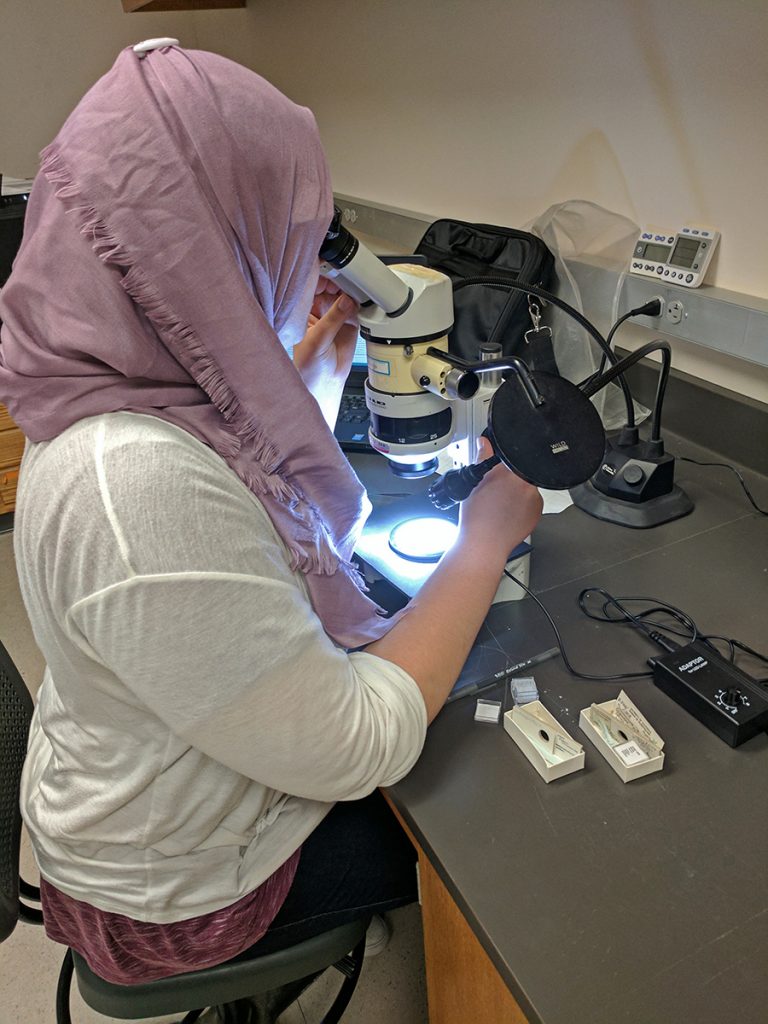
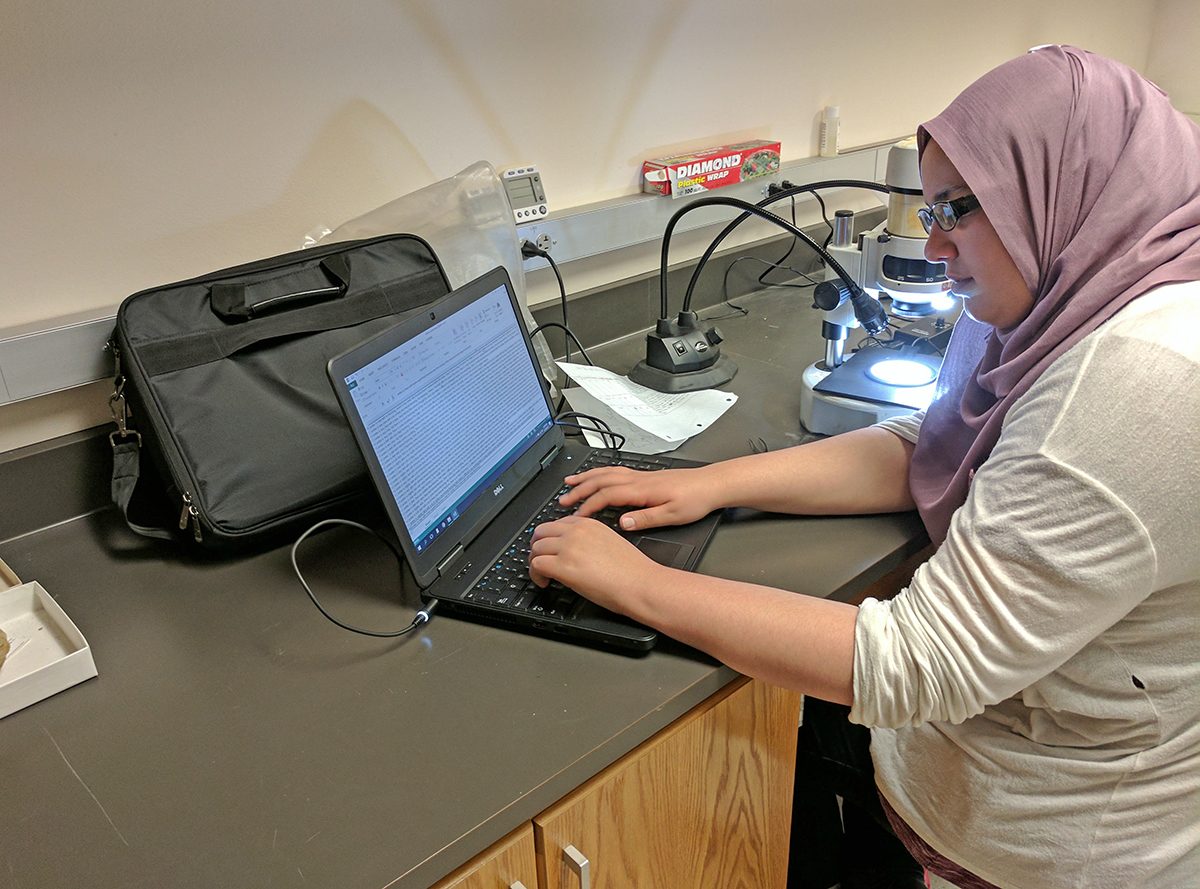
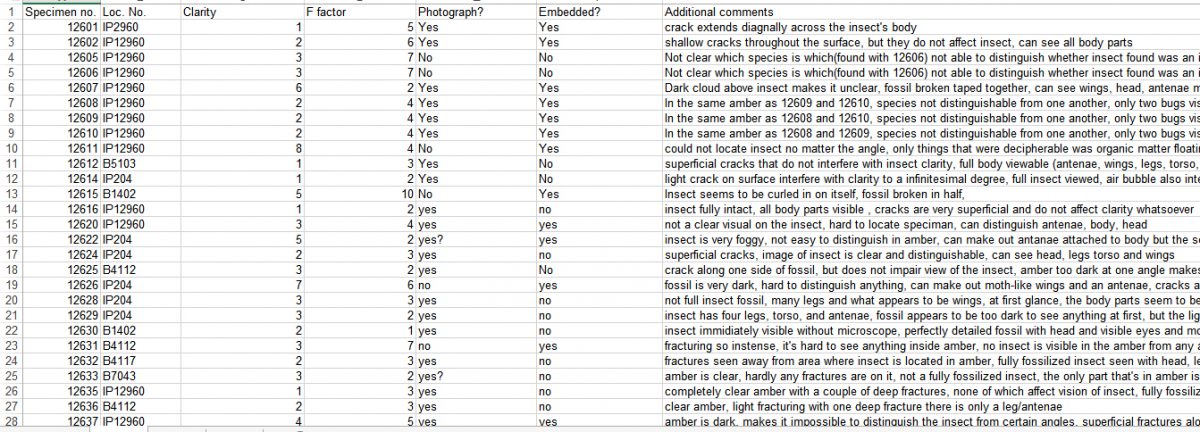
As part of my workflow, I removed the specimens, examined them with the microscope to assess their condition, recorded my findings in an excel spreadsheet, and then transferred the specimens into ethafoam-lined, light and airtight labeled plastic gem boxes to avoid further damage. To remove the amber specimens I used a scalpel to cut one side of the cardboard so that the cover slip could be removed by lifting it up rather than sliding it out.
This way, there was no further detrimental contact between the cover slip and the specimen. There are instances where handling the amber can result in more crumbling, so all the amber must be handled very carefully when taken out of and/or placed back into housing. In handling the amber it is best to use soft forceps, which minimize stress when you squeeze them because they give in response to pressure and don’t do any damage to the amber. There are even instances where placing the amber in the new box can be damaging, so the ethafoam padding needs to be cut so that it holds the amber securely, but also so that the amber isn’t so secure it is being squeezed. In order to make sure that is the case, I would hold the amber over the ethafoam and cut a hole that is slightly larger than the amber itself. That way, the amber will stay within the hole, but also has some wiggle room that avoids any stress to the amber.
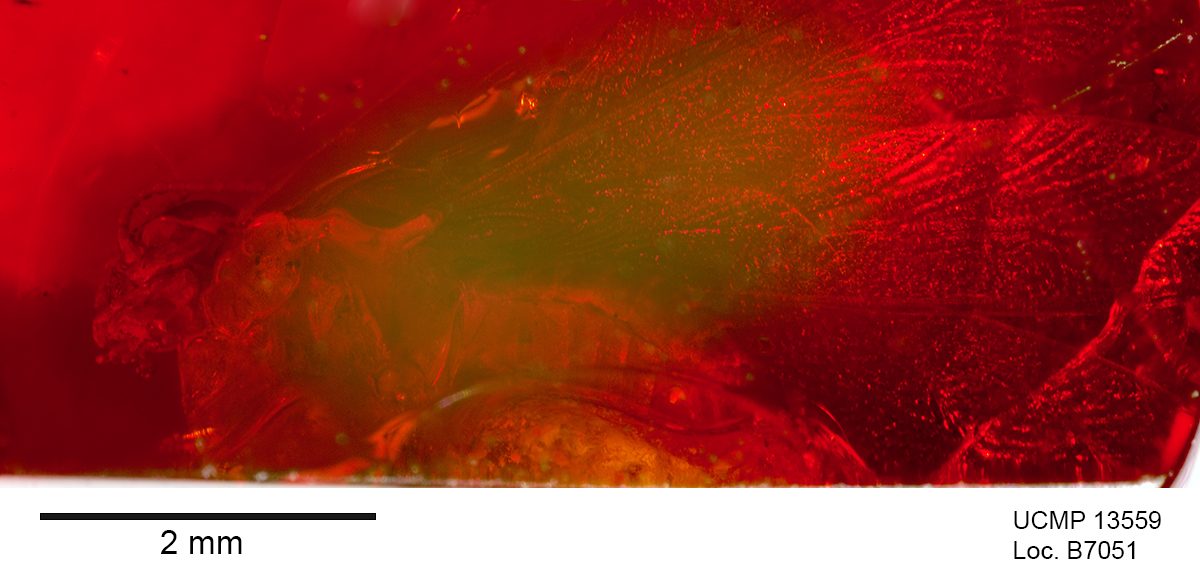
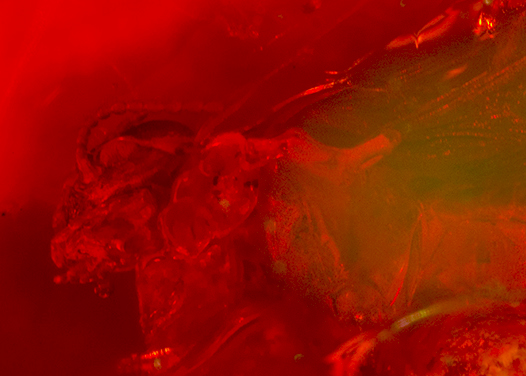
Although amber darkness did impact the quality of the images, I found that in many cases it did not affect visualization of the insect unless it was coupled with extensive fracturing. Otherwise, it only blurred the image of the fossil, but didn’t make it impossible to see details. The amber specimens embedded in resin or in resin and mounted on glass microscope slides were in excellent condition: there was nothing to distract you from the fossil and you could pinpoint the location of the insect almost immediately. Fossils with internal fracturing often made shapes that look like it could be an insect, so you could mistake those patterns as an insect. Oxidized amber is generally more fragile, and therefore more likely to get fractured. All the amber has been placed in these airtight boxes and cushioned by ethafoam so that they do not move around in the boxes and undergo further damage.
I also noticed amber that was originally housed in the airtight gem boxes were generally in better condition than the ones that were in the cardboard slides. They were generally lighter-colored and didn’t feel that fragile when being handled by the soft forceps. This is probably due to the fact that when they are placed in airtight places, exposure to air is minimized.
I assessed the amber specimens by examining their relative amount of fracturing and translucence. Amber specimens were assessed through the F-factor, a score from 1-10 that assesses how much of the amber is covered in fractures, and clarity, which is also scored on a scale from 1-10 based on how clear the amber is. There were situations where there is a lot of fracturing and/or the amber is very dark, but the area around the fossil is clear. In these cases, I made a note in the specimen comments section that the fossil is visible.
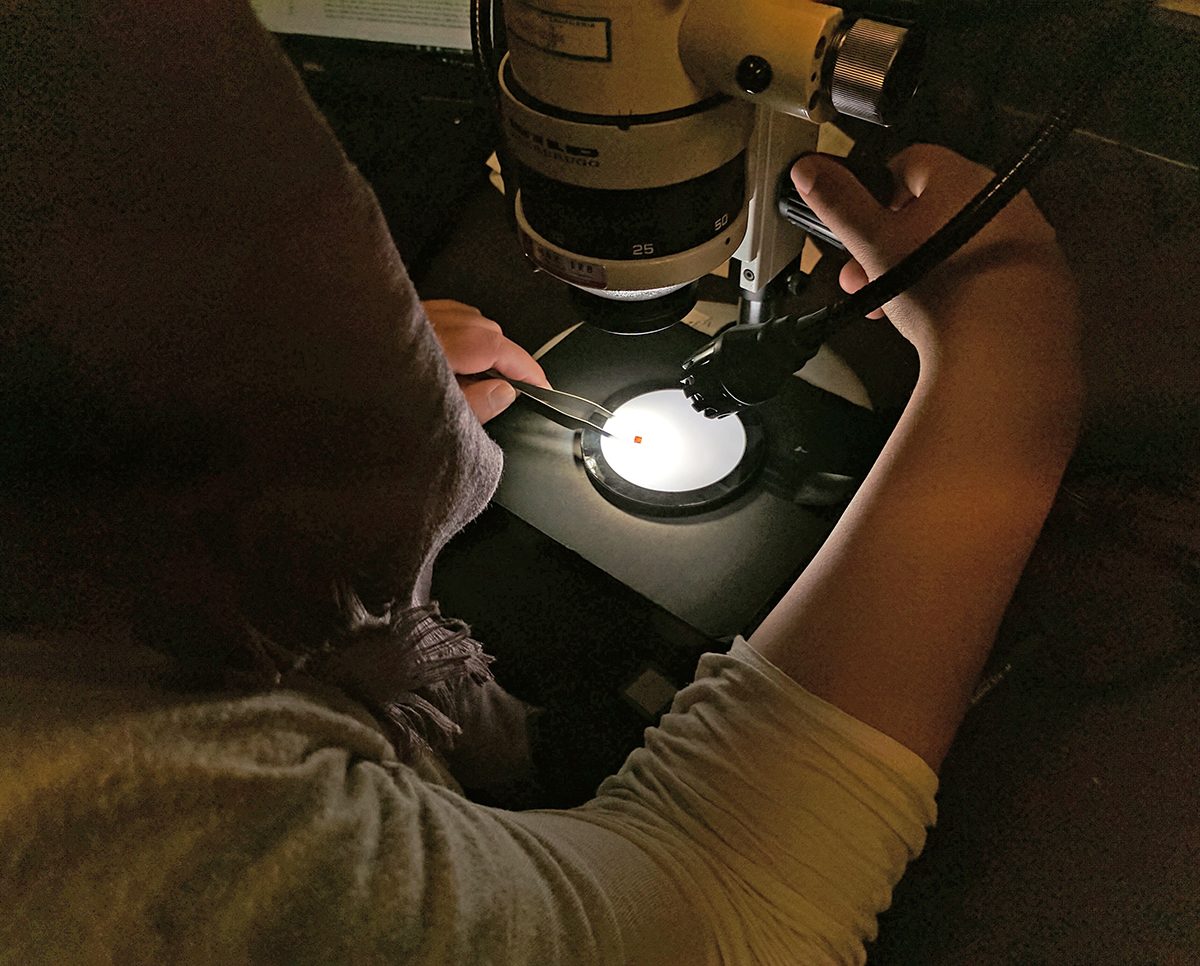
There were some cases where the amber specimens were given a high score for clarity (meaning it is completely dark), but the insect itself can be seen clearly. In those cases, the darkness of the amber provided the sharp contrast needed in order to see the insect itself. In the cases where the amber is very dark, it is generally too hard to see the insect at first. However, once you have a dim light shining beneath the amber, which makes the amber itself a lighter color, and no lights shining on top (because the result is a mirror effect where you can’t see anything but the glare of the light) the insect-which is very dark-becomes a stark contrast to the dark red of the amber. This allows for the clear visualization of the insect fossil, which would not have been visible beforehand.
In general, the damage done to the amber has more to do with its F-factor than with clarity. So when calculating the percentage of amber that is damaged, the highly damaged ones are given an F-factor score of 5 or higher, whereas the less damaged ones are given a score of 4. At the time this blog was written, I had assessed 175 amber specimens. Of those fossils, 53 were highly damaged (30.3%) and 27 were moderately damaged (15.4%). My results show that among this sample 80 specimens will be given the highest priority for embedding in resin (45.7%). Embedding the fractured amber in resin will seal the cracks making the amber strong enough to withstand normal handling. The resin will also seal the amber from future oxidation, enhance the photographic quality and their detailed study with the microscope.